Downloading a font is only the first step. Before you can use that font in Word, PowerPoint, Photoshop, Illustrator, Canva desktop apps, or other design software, you need to install it on your computer.
For beginners, this process can feel confusing at first. You may download a font file, open it, preview it, and still wonder why it does not appear in your design app. The good news is that font installation is usually simple once you understand what the file is, where it goes, and what to check after installing it.
This guide explains how to install fonts on Windows and macOS, how to handle common font file formats, and what to do if your newly installed font does not appear in your software.
What Does Font Installation Mean?
Installing a font means adding the font file to your computer’s system font library. Once installed, the font becomes available to supported apps on your device.
For example, if you install a font on your computer, you may be able to use it in software such as:
- Microsoft Word
- PowerPoint
- Adobe Photoshop
- Adobe Illustrator
- Canva desktop apps
- Other design, writing, or editing programs
However, installing a font does not automatically mean you are allowed to use it for every purpose. Font installation and font licensing are two different things. A font may be installable on your computer, but you still need to check the author’s license terms before using it in commercial projects.
Common Font File Formats: TTF and OTF
Most downloadable fonts come in common formats such as TTF or OTF.
TTF Fonts
TTF stands for TrueType Font. It is one of the most widely supported font formats and works well for many everyday uses, including documents, presentations, and basic design projects.
OTF Fonts
OTF stands for OpenType Font. It is also widely supported and may include more advanced typography features, depending on how the font was created.
For most beginners, both TTF and OTF files can be installed in a similar way. If you want to understand the difference in more detail, read this guide: OTF vs TTF: What Is the Difference?
Before Installing: Extract the ZIP File First
Many fonts are downloaded as ZIP files. A ZIP file is a compressed folder that may contain the font file, license notes, preview images, and other documentation.
Before installing the font, extract the ZIP file first.
On Windows, right-click the ZIP file and choose Extract All.
On macOS, double-click the ZIP file to unzip it.
After extracting, look for font files such as .ttf or .otf. Avoid installing directly from inside the ZIP preview, because the font may not install correctly or you may miss important files such as the license document.
How to Install Fonts on Windows
Installing fonts on Windows is usually quick. The exact appearance may vary slightly depending on your Windows version, but the basic process is similar.
Method 1: Install by Right-Clicking
- Extract the downloaded ZIP file.
- Find the
.ttfor.otffont file. - Right-click the font file.
- Choose Install or Install for all users.
- Wait for Windows to add the font to the system.
If you only need the font for your own account, Install is usually enough. If multiple users on the same computer need access to the font, Install for all users may be more useful.
Method 2: Install from the Font Preview Window
You can also double-click the font file to open a preview window. This lets you see a sample of the font before installing it.
From there, click Install.
Just remember: previewing a font is not the same as installing it. If you only open the preview and close the window without clicking Install, the font may not appear in your apps.
How to Install Fonts on macOS
On macOS, fonts are usually installed through Font Book, the built-in font management app.
Install a Font on macOS
- Extract the downloaded ZIP file.
- Find the
.ttfor.otffont file. - Double-click the font file.
- Font Book will open a preview.
- Click Install Font.
- Wait for macOS to add the font to your font library.
Once installed, the font should become available in compatible apps. If the app was already open before installation, restart the app so it can refresh its font list.
How to Install Multiple Fonts at Once
Some font families include more than one style, such as regular, bold, italic, light, medium, or black. If you only install one file, you may only get one style in your design software.
To install multiple fonts at once:
- Extract the ZIP file.
- Open the folder containing the font files.
- Select all
.ttfor.otffiles you want to install. - On Windows, right-click and choose Install.
- On macOS, double-click or open the files with Font Book, then install them.
This is useful when a font family includes several weights. Installing all available styles gives you more flexibility when designing headings, body text, labels, or presentation slides.
How to Check If a Font Is Installed Correctly
After installing a font, open a program that lets you choose fonts, such as Word, PowerPoint, Photoshop, Illustrator, or another design app.
Create a text box and search for the font name in the font menu. You can test it with simple preview text such as:
THE QUICK BROWN FOX
the quick brown fox
1234567890
This helps you see how the font looks in uppercase letters, lowercase letters, and numbers.
If the font appears and changes your text correctly, it is installed and ready to use.
Why You May Need to Restart Your Design App
One common beginner mistake is installing a font while the design app is already open, then expecting it to appear immediately.
Some apps refresh their font list automatically, but many do not. If the font does not appear after installation, close the app completely and open it again.
This applies to apps such as Photoshop, Illustrator, Canva desktop apps, PowerPoint, Word, and many other programs. Restarting the app gives it a chance to reload the system font list.
What to Do If the Font Does Not Appear
If your font does not appear after installation, try these steps:
| Problem | Possible Cause | What to Do |
|---|---|---|
| The font does not appear in Word, PowerPoint, Photoshop, or Illustrator | The app was already open before the font was installed | Close the app completely, then open it again so the font list can refresh. |
| The font file does not install | The font is still inside a ZIP file | Extract the ZIP file first, then install the actual .TTF or .OTF file. |
| Only one font style appears | Only one style from the font family was installed | Check the folder for other styles such as Regular, Bold, Italic, Light, or Black, then install the styles you need. |
| The font name is hard to find | The font name inside the software may be different from the file name | Search for a similar name in the font menu or reopen the font file to check its display name. |
| The font still does not appear after restarting the app | The system may not have refreshed the installed fonts yet | Restart your computer, then open your design or document app again. |
| The font works, but you are not sure if you can use it commercially | Installing a font does not automatically give commercial usage rights | Check the font page, license file, and author terms before using it for logos, client work, products, or branding. |
1. Make Sure the ZIP File Was Extracted
If you tried to install the font while it was still inside a ZIP file, extract the folder first and install the actual .ttf or .otf file.
2. Restart the App
Close the software where you want to use the font, then open it again.
3. Restart Your Computer
If restarting the app does not work, restart your computer. This can help the system refresh its installed fonts.
4. Check the Font Format
Make sure the file format is supported by your computer and software. TTF and OTF are commonly supported, but some unusual formats may not work in every app.
5. Install All Font Styles
If you downloaded a font family, check whether there are multiple files. You may have installed only one style while expecting the full family to appear.
6. Look for the Correct Font Name
Sometimes the font name displayed inside your software may be slightly different from the file name. Search carefully in the font menu.
Check the Font License Before Using It
Installing a font only adds it to your computer. It does not automatically give you permission to use it in commercial work.
Before using a font for logos, client projects, products, advertising, templates, merchandise, or business branding, always check the license on the font page and read any license file included in the download.
Some fonts may be free for personal use only. Others may allow commercial use. Some may require attribution, permission, or a paid license. Keep the original license file or author notes in a safe folder so you can review them later if needed.
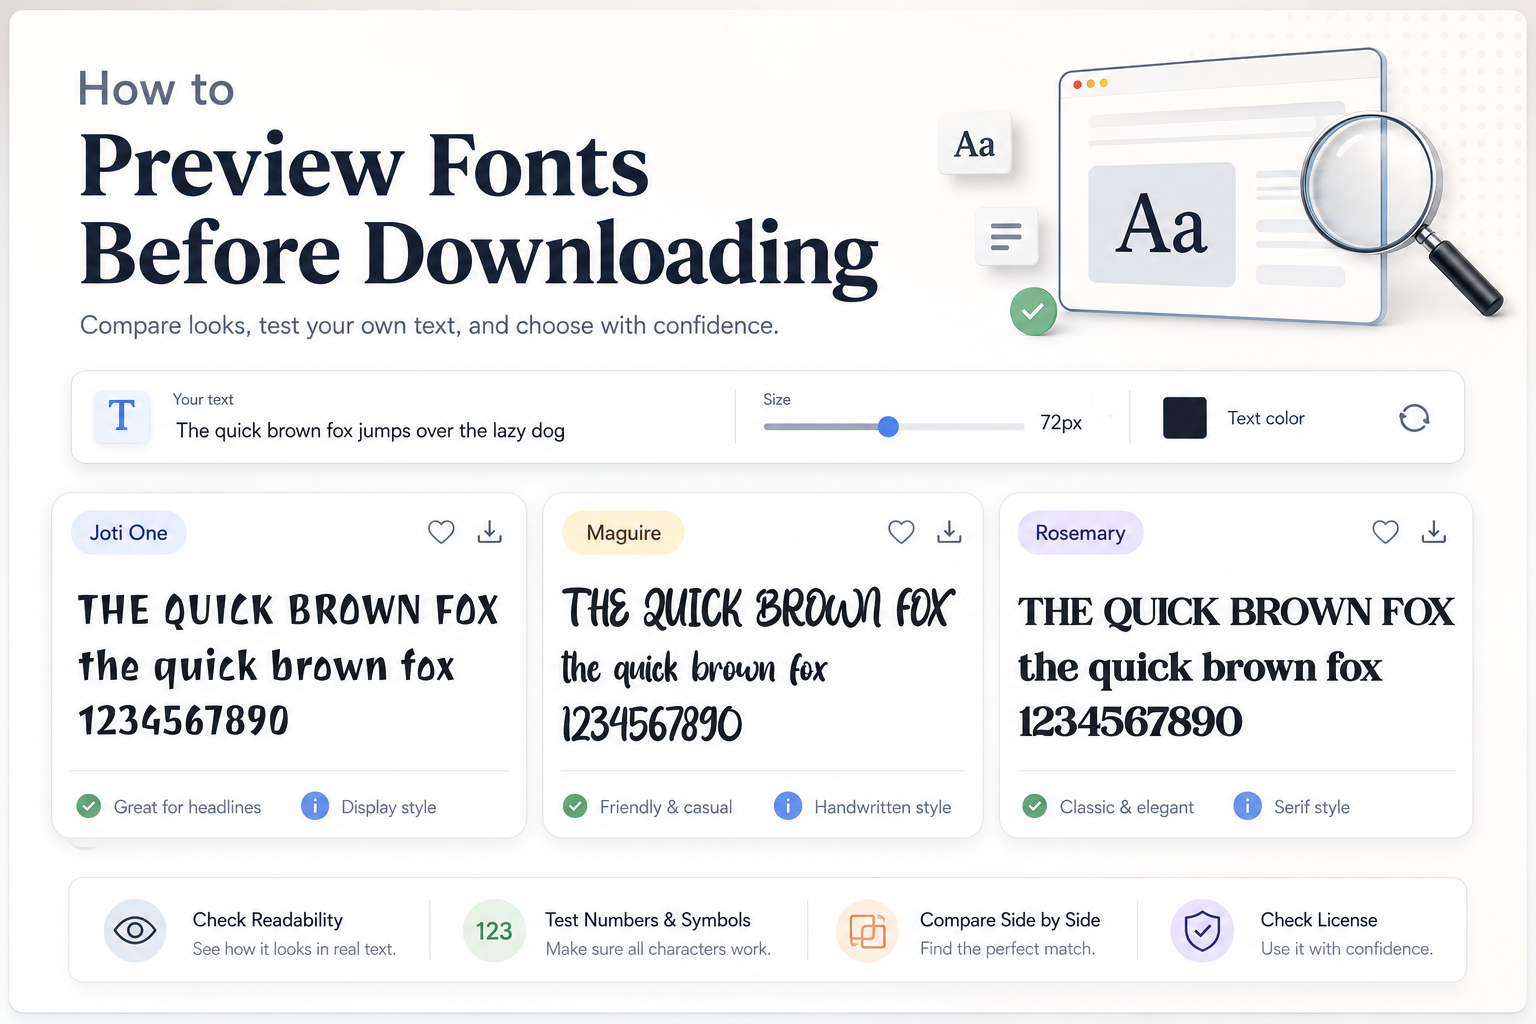
Related Resources
Before downloading a font, it is helpful to preview it with your own words so you can see whether it fits your project. You can read this guide: How to Preview Fonts Before Downloading
To learn more about common font formats, visit: OTF vs TTF: What Is the Difference?
You can also explore font categories such as Display Fonts if you are looking for fonts for headlines, posters, covers, and bold visual designs.
Common Mistakes to Avoid
Avoid these beginner mistakes when installing fonts:
- Installing fonts before extracting the ZIP file.
- Forgetting to restart your design software.
- Installing only one style when the font family includes several styles.
- Assuming previewing a font means it has been installed.
- Ignoring the font license before using it commercially.
- Deleting the downloaded font folder without keeping a backup.
- Trying to use unsupported font formats in certain software.
Keeping your font files organized can save time later, especially if you often work on design projects.
FAQ
Do I need to install a font before using it?
Yes, in most desktop software, you need to install the font before it appears in the font menu. Some web-based tools may work differently, but for computer apps, installation is usually required.
Can I install both TTF and OTF files?
Yes. Both TTF and OTF are common font formats. In most cases, you only need to install one version of the same font, unless the font creator provides different styles or versions for a specific reason.
Why is my font not showing in Photoshop, Illustrator, Word, or PowerPoint?
The app may need to be restarted. Close the program completely and open it again. Also check that the ZIP file was extracted and that the actual font file was installed.
Can I use any installed font for commercial projects?
No. Installation does not control usage rights. Always check the font page, license file, and author terms before using a font commercially.
Should I keep the downloaded font file after installing it?
Yes, it is a good idea to keep a backup of the original font file, license file, and author notes. This helps if you need to reinstall the font or confirm the license later.
Conclusion
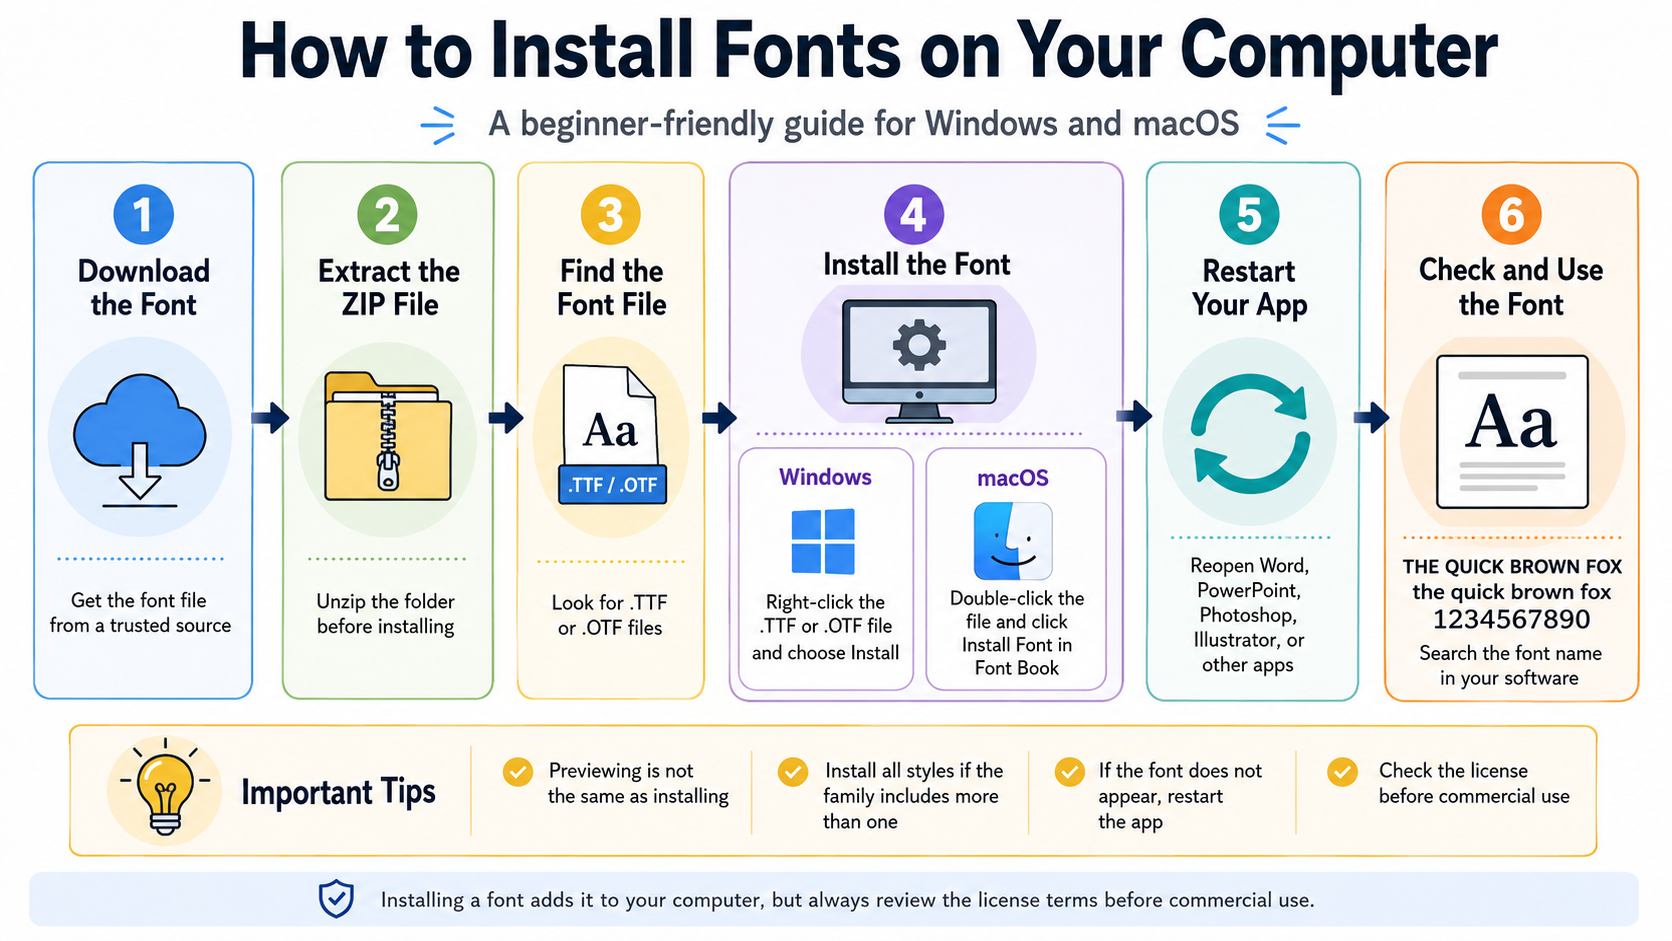
Learning how to install fonts on your computer is an important basic skill for anyone working with documents, designs, presentations, or creative projects. The process is simple: download the font, extract the ZIP file, install the TTF or OTF file, restart your app if needed, and check that the font appears correctly.
Before using the font in real projects, take one extra step: review the license. A font may be easy to install, but you still need to make sure it is allowed for your intended use.
Once you understand these basics, using downloaded fonts becomes much easier, safer, and more organized.